This is the main route from the shipwreck camp to Deimpo Mausoleum, in the order the gates actually open. The game gives you no map and no quest markers, so each step below lists what to do, what you need first and what you walk away with. Tick steps as you finish them and the next objective stays pinned at the top; your progress is saved in this browser and shared with the homepage strip.
The opening needs nothing but the gear lying around the beach. It ends with the sword that makes the rest of the island reachable.
Step 1Isle of Neasied
Camp, shipwreck and Crypt
Take the Rusted Short Sword at the camp, grab the Dagger Belt by the shipwreck, then hit the Crypt switch with a dagger and fetch the Endu Shrine Gate Key from the bottom chamber.
Pick up the Wooden Club while you are in the Crypt, because the first boss is weak to the Impact damage it deals. The wall with no brazier beside the key chamber hides a room holding the Pandora Blade.
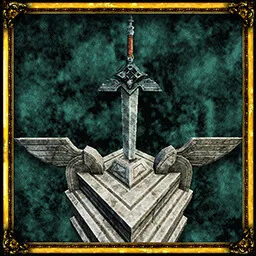
Unlock the Endu Shrine and beat the Shrine Guardian, using Impact damage while it recovers from cleaver swings.
Rest at the first Crystal Monument, and aim for character level five before you go in. When the Guardian raises its sword overhead, back away as far as you can: that swing reaches much farther than the others. Talk to the fallen Guardian for the figurine, then take Endu from the shrine.
Gets youHoly Sword Endu with one Wind Gem, Stone Duck Figurine for Umbada
Flying SwordCollect the Holy Sword Endu.73% of Steam players
Gems, bells and the temple
Each dash you gain opens a new crossing, and three Gargoyle beacons have to burn before the Tower of Knowledge lets you in.
Step 3Tower of Knowledge
Azure Torch at the tower door
Wind Dash over the eastern bridge and lift the Azure Torch from the gargoyle at the tower door; the tower itself stays sealed for now.
Two routes leave the starting area. The western broken bridge needs two dashes, so head east first. Keep the torch: it also lights every Gargoyle beacon and burns Dagoom later.
Climb past the first Crystal Monument to the upper save point and dash from the rocks between the pillars to the gem pedestal.
Climb the rocks before you jump: from any lower spot the dash falls short even with correct aim. Your HUD now shows two blue Wind Dash slots, and that second slot is what opens the western bridge. Levelling the sword does nothing for reach.
Light the gargoyle above the broken stairway (watch for the blue lantern) and the one north of the upper elevator.
The first gargoyle waits at the top of the broken stairway. The second sits north of the upper elevator beside a locked gate that only opens later, so do not spend time on that gate now.
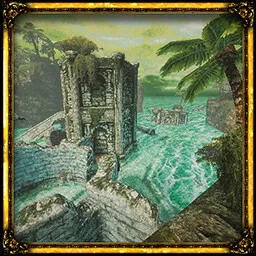
Double-dash the western bridge, collect four Triangular Slates in the flooded ruins, take the third Wind Gem inside and get past the three Royal Orbewa Guards.
Inside, the first Trident Key near the entrance leads to the second save point beside the large pit. Dash into the hole in the pit wall for the third Wind Gem and the second Trident Key, then clear the pit with three dashes. Beating the three Royal Orbewa Guards in the big cavern opens the door to Dagoom.
NeedsTwo Wind Dashes, four Triangular Slates, two Trident Keys
Gets youThird Wind Gem, Silver Duck Figurine
Ocean WalkReach the Obmuer Temple.55.7% of Steam players
Tower and mausoleum
The final documented stretch trades three rung bells for the Storm Gem, a boss and the acid that burns open the way down.
Step 7Tower of Knowledge
Third beacon and the Storm Gem
Light the third gargoyle on the way out of Obmuer Temple, then inside the tower ignite gargoyles 3 and 7, recover the Storm Gem and get the Forbidden Archives Key from Budaen.
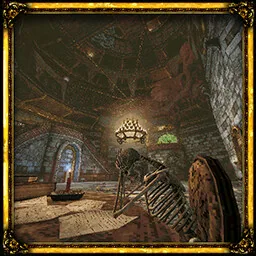
Use the fast travel point beside the third gargoyle to get back quickly. On the tower balcony, gargoyles 3 and 7 unlock the door. Climb past the next save point to the fast travel point near War-Hat's study, then up the huge staircase to the gem. Hit the switch under the gem to rotate the staircase and reach Budaen below.
Endless PagesReach the Tower of Knowledge.31.9% of Steam players
Step 8Tower of Knowledge
The Necronomicon
Beat The Necronomicon beyond the Forbidden Archives; its Acid Vial coats your throwing daggers automatically.
Open the doors by the Storm Gem, ride the elevator up and fight through to the boss. Stay at range, throw daggers until the book falls, then run in and slash. Keep clear of its goat form until it changes back. Burn the book afterwards to collect the vial.
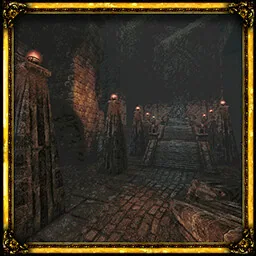
Burn the flesh growth near Budaen with acid daggers to open the way to the mausoleum your father entered.
Only acid-coated daggers burst these growths, so nothing else you carry will clear this barrier. The mausoleum is where the path onward to Siraatsu Castle begins; the region order past that castle and the triggers for the later endings have not been published.
Everything the route asks you to find, with where it is and what it does. Wind Gems 4 and 5, the four Mask of Second Sight lenses and the Energy Cells are missing here because nobody has posted their locations.
Item
Type
Area
Where it is
What it does
Dagger Belt
Equipment
Isle of Neasied
Near the shipwreck along the opening shoreline
Throwing daggers for switches like the Crypt entrance
Endu Shrine Gate Key
Key
Isle of Neasied
Lowest chamber of the beach Crypt
Opens the Endu Shrine gate
Stone Duck Figurine
Shop unlock
Isle of Neasied
Dropped by the Shrine Guardian
Use at a Crystal Monument to reach Umbada's Trading Outpost
Wind Gem 1
Wind Gem
Isle of Neasied
Already set in Holy Sword Endu
First Wind Dash
Wind Gem 2
Wind Gem
Isle of Neasied
Pedestal reached from the second, higher Crystal Monument
Second dash; crosses the western bridge
Wind Gem 3
Wind Gem
Obmuer Temple
Through the wall opening below the large pit, where skeletons ambush you
Third dash; clears the temple pit
Gargoyle Beacon 1
Beacon
Isle of Neasied
Top of the broken stairway near the blue lantern
First tower bell
Gargoyle Beacon 2
Beacon
Isle of Neasied
North of the upper elevator, beside a locked gate
Second tower bell
Gargoyle Beacon 3
Beacon
Obmuer Temple
On the exit route after Dagoom
Third bell; opens the Tower of Knowledge
Triangular Slates
Key
Obmuer Temple
Four pieces in the flooded ruins: by the red-fish pool, on the broken columns, below the trident ledge and on a column reached by dash
Opens the Obmuer Temple door
Trident Key 1
Trident Key
Obmuer Temple
Watery area near the temple entrance after the drop
Main route lock
Trident Key 2
Trident Key
Obmuer Temple
Beside the third Wind Gem where skeletons ambush you
Main route lock
Trident Key 3
Trident Key
Obmuer Temple
The Trident spear breaks into this key once levelled far enough
Optional gate
Trident Key 4
Trident Key
Umbada's Trading Outpost
Shop stock after the Tower of Knowledge boss (also reported from the Petrified Garden boss)
Optional gate
Silver Duck Figurine
Shop unlock
Obmuer Temple
Reward for Dagoom the Sea King
Expands Umbada's stock
Storm Gem
Endu upgrade
Tower of Knowledge
Upper tower after the numbered gargoyle puzzle
Charged storm attack for Endu (no extra dash)
Forbidden Archives Key
Key
Tower of Knowledge
Given by Budaen in the room below the elevator
Opens the archives leading to The Necronomicon
Acid Vial
Upgrade
Tower of Knowledge
Dropped by The Necronomicon
Acid daggers that burn through flesh barriers
Golden Duck Figurine
Shop unlock
Tower of Knowledge
Dropped by The Necronomicon
Expands Umbada's stock
Travel Crystal Fragment
Consumable
Anywhere
Found while exploring
Returns you to the last Crystal Monument you saved at
Wing Stone Fragment
Consumable
Anywhere
Found while exploring
Fast travel to any discovered Wing Altar; consumed on use